Monday, May 14, 2012

What I Hate about SSIS

So my friends hear me complain about this all the time, that SSIS is a poor development tool. While it might be great from a more admin's perspective where they don't want to see the code, from a developers perspective it is hell. There is no good way to ensure that I have only made the necessary changes to a package when I check it in to source control.

I recently did a small update to handle nulls in a package I look after. I opened the package, explored around to find the necessary part to correct, and added IsNull around two fields. That's it. So I want to compare it with the prior version to make sure I didn't accidentally bump a setting or other such nonsense that you get to deal with in a designer only development environment, this is what I get:


I appreciate the version change on the package in the first couple lines (omitted from screenshots), and will even ignore that the SQL is in there twice (once for the variable it is stored in due to being complex, once for the task where it is used I think). If you haven't used code diff software much, pay attention to the bar on the left, it shows you where in the files the differences are. Note all of the red in the bottom half of the file. What is all that? Lets go take a look:


Ack! This kind of stuff is the entire second half of the file, it looks like the XML of the package has been HTML encoded and saved in the file, who knows. What did I change to deserve this mess? Is it something important? How do I know that I haven't broken some obscure setting buried in that part of the file?

Now, try code reviewing this with your peers. Not as simple as a typical source file, you pretty much have to go through the package and review what all the pieces do, as I don't know many developers who would OK this mess without being able to determine what it does (well, maybe I know a few, but that's a complaint for another day).

So, please, tell me what I'm doing wrong *with* SSIS. I've used the BIDS Helper Smart Diff, and while it is certainly an improvement, it's still not pretty. I don't ever see being able to merge SSIS packages, which is a real shame.

Jared

Sunday, October 31, 2010

Frankenstein Neck Electrical Studs


So this year Kayla decided she wanted to be Frankenstein's Monster's bride. She picked out the hair and used one of her dresses, and while the bride doesn't have the neck studs in the movies, I thought it would be a nice tough to make it more easily recognizable.

I started out with a scrap of leather, 1/2" PVC end caps, some chrome paint and super glue. I painted the end caps and had Kayla blow dry them as we were in a hurry.


When then filed the bases of the end caps flat to help give them a better gluing surface. We put the strap around her neck and marked it for where to place the velcro and studs, then glued them in to place with the superglue (either superglue or hot glue seems to end up in most of my projects :-S). I also drew some stitches on the strap for kicks.


I think it turned out pretty nice and she was happy with it. Should be fun to see what they want to do next year! :-). Jenny should be getting pictures of the kids up on duttonlabs sometime soon for more pics of the kids.


Scary Pumpkin!


So on a whim on Sunday morning I decided to remake the Scariest Pumpkin Ever as seen in Make Magazine. I didn't want to spend too much time on it as it would be dissassembled shortly after creating it so just used a little breadboard to make most of the connections. I took these photoes of the dissassembly as I didn't take any putting it together.


Crammed the Ooga horn inside the pumpkin, just barely fit. I had to take it out once during assembly because I pulled out a bunch of wires from the breadboard while fitting it in.


I put the electronic bits (Arduino, Solid State Relay) into a little box to keep them from getting too wet.


And here is a decent pic of the electronics. I put duct tape around the breadboard to keep the wires from pulling out again.

And finally a video. I was out with the girls trick or treating so wasn't able to witness most of the scares, but Jenny said that everyone that tried it really liked it or really didn't for some of the younger ones :-D. I wish I had set a video camera on it all night long to get the reactions, maybe I'll have to work something up next year for that :-).

Sunday, August 15, 2010

Ooga Horn on Motorcycle


I have been getting tired of the anemic horn on my motorcycle for a while. About 8 months ago I picked up an Ooga horn from Harbor Freight (bright red) but just hadn't gotten around to installing it. Anyway, finally got to it. Made a little bracket out of some steel, though I might have to modify it somewhat when I get the batwing fairing installed or if I ever decide to pick up the take project again.

Painted it all black with some cheap Krylon.


And a video of it in action. The horn was too loud for the mic on the video camera, so it doesn't sound very true to life, but just as the horn starts making noise you can get an idea:

Thursday, July 22, 2010

Google's new image search layout

Just a couple quick complaints about the new google image search layout.

What is with the new layout? If I wanted Bing image search I would go Bing. While this is something I can adapt to, it is somewhat annoying.

The javascript image resizing? Not only is that annoying but it causes problems with opening images in new tabs using the middle click. Either have to middle click before it resizes or wait until it has resized.

Opening the image on the target page with more javascript crap. Now I have to close the image before I can see the context and related images on the page. Just one more click to get to what I'm looking for. The frame at the top has always been a nuisance, but this is worse.

On a plus note, I have found that altavista's image search has none of these issues, and takes you directly to the target page. Wow, altavista, feels like a blast from the past, but it works so I'll be using that for image searches for now.

http://www.altavista.com/image/

So, how would I fix this if I were google? I would probably leave the layout, but turn off the javascript image expansion on the results page or make it an option. Likewise with the image on the target page, either make it an option or get rid of it.

Monday, May 10, 2010

New Clutch on Honda Shadow

So the clutch on my motorcycle has been slipping lately. Usually just when shifting gears but occasionally when accelerating hard it would start slipping around 3k rpm. I've been in it before trying to fix it without luck. It had a new clutch spring, all the friction plates and disks measured well within spec. Tried different oils, checked to make sure my one way clutch was in right. Nothing, still slipped.

So there were a couple things I was hoping to do away with: the one way clutch (because it could potentially slip on the shaft) and the conical spring (no aftermarket replacements, also, I can't imagine it was a good design as they phased it out the next year).

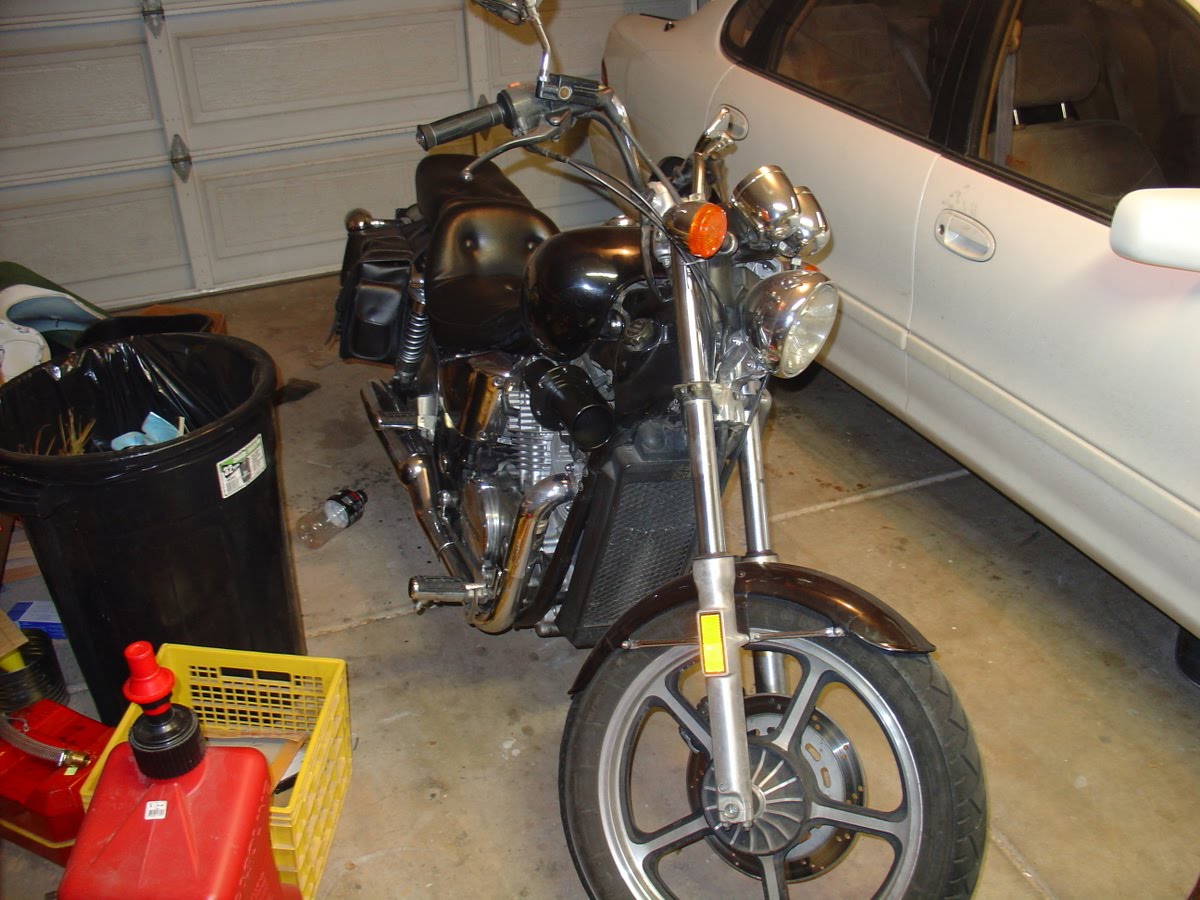
So here's the bike, just about ready to take the side cover off. Exhaust removed, forward controls removed, piece of the frame removed, cross member removed. Yay!


So after careful measurements the outer clutch basket was almost identical with the exception of the big gear at the bottom of it, slightly taller on the '86, so I decided to keep it. Basket depth and overall height was the same so I wasn't too worried. Notice the nice spot for the 5 springs.

It didn't quite go as smoothly as I had hoped, but I didn't get any pics of the process. The shaft coming out of the transmission must be a little shorter on the '87, so I ended up having to put in a spacer for the nut to hold the inner clutch to the transmission shaft (I made it from the one on the '86 with an angle grinder and drill press). The longer shaft from the tranny also meant that the clutch didn't compress enough to engage the disks. To fix this I experimented with different shim arrangements until I got one of the inner metal disks and used it to space it out a little.


Here you can see the super conical spring on the old clutch.


So anyway, back to the new clutch. The addition of the clutch disk as a shim caused the clutch to stick out from the bike further and interfere with the clutch cover. Aftermaking a spacer from a part of the old clutch going back wasn't an option, not that I would have anyway, so I figured a spacer would be the easiest way to solve this. A few quick measurements on the bike and I was off to the store to buy some 1/4" 6061 aluminum plate.


After talking to Roy on the phone he suggested gluing the gasket to the plate, which was much better than my idea of tracing or marking compound on the cover. Anyway, I figured I could probably pull it off and not have to get the glued on gasket off by laying the gasket on and using it as a paint mask.


And it worked pretty well. Just need to cut off the areas with paint. I was thinking it would be cool to have a milling machine/water jet that could remove areas with a certain color paint or marker on them, then you could fab up parts without having to draw them up in a cad program for quick one off projects like this.


Here we go ready to cut some tests. I put the hole in the middle in case I made a big gnarly mess for my test cut and didn't want to mess up the contact surface.


Test cut with the jig saw went well, but it didn't turn well so I drilled a bunch of relief holes to make it easier. The inner radius was still too tight for the jig saw so but they helped with using the scroll saw with a wood cutting blade.


Jenny made me get a band saw for this project so I used it to cut away the exposed side while it was still heavily supported.


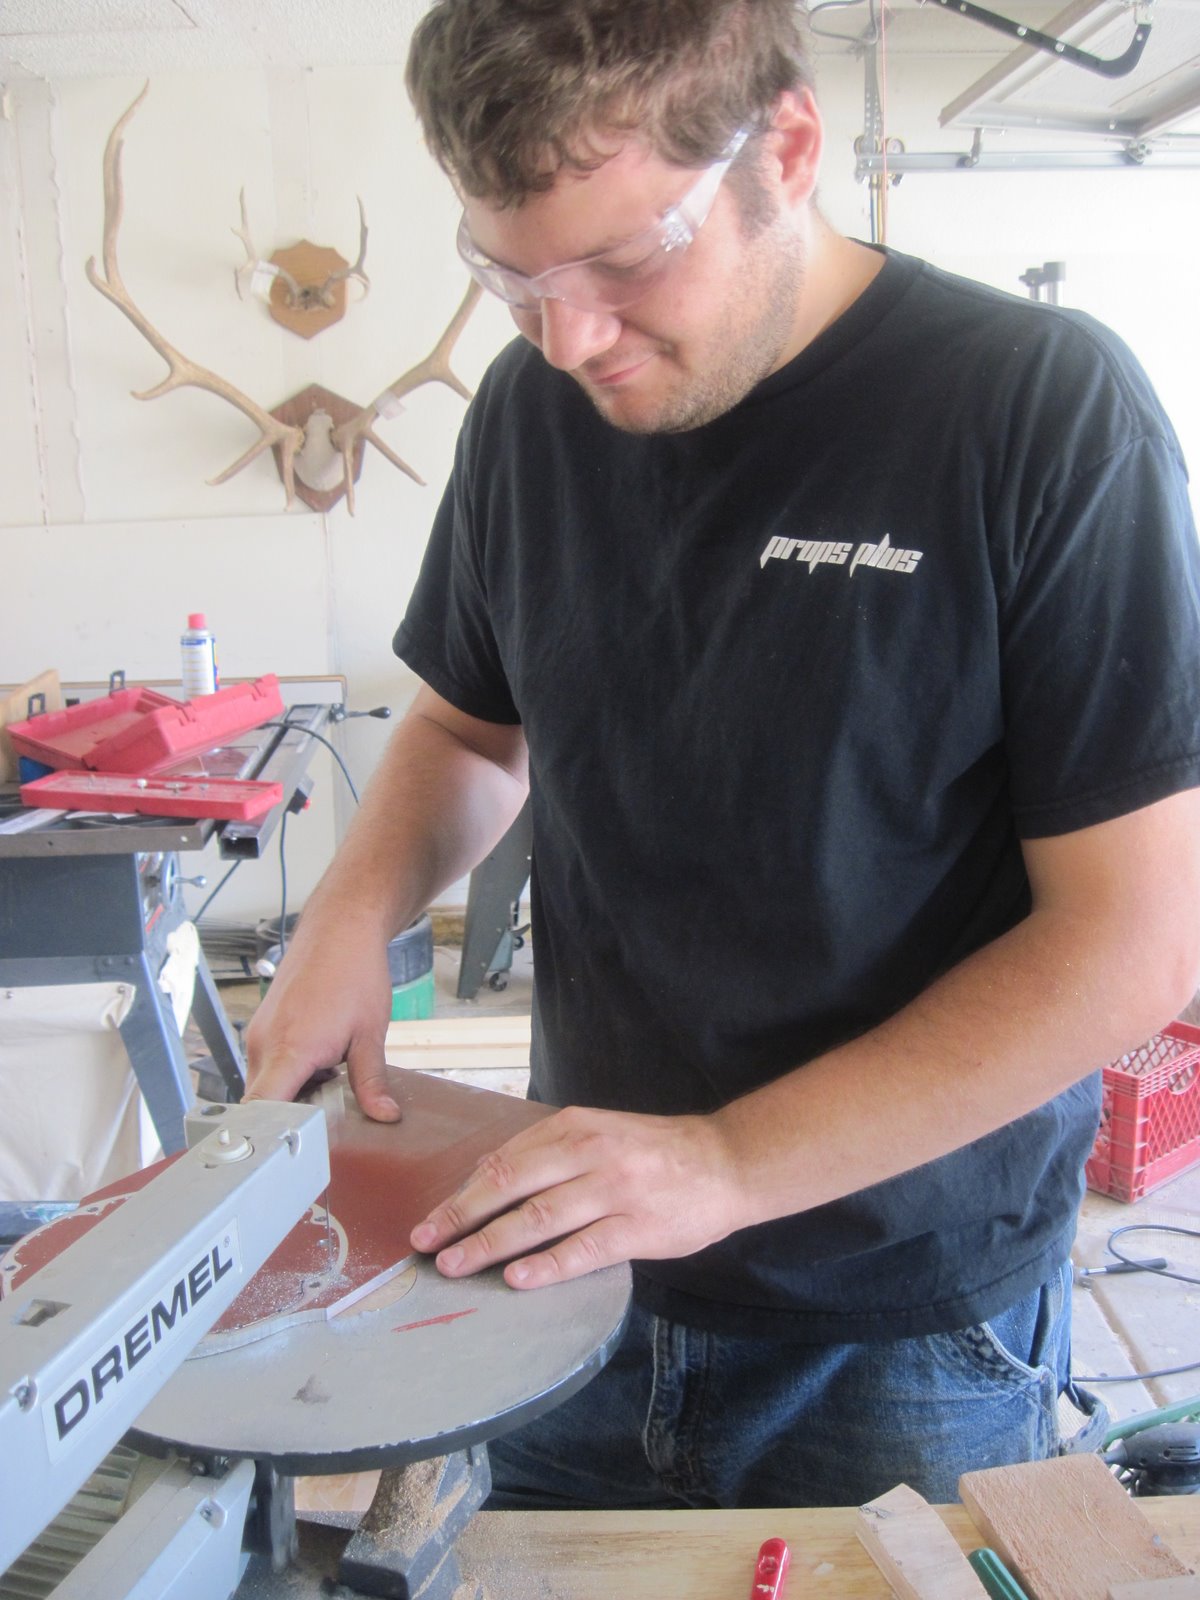
I finished up the inside with the scroll saw that I've had since around 12 years old. Still works like a champ :-).


I kept a candle around and would apply the wax to the blade to reduce the friction and help it pull the metal particles out of the cutting area. I read online that beeswax would have been better but this worked pretty well. That's what most of the crud on the cut out area is.


And another nice clean cut to finish it up from the bandsaw. This was my first time using a band saw, so I was a little nervous before I got started. I need to do a little more tuning on the saw to get it to stop wobbling (it's not too bad, just a little), but the band runs true on the belts and everything was nice and quiet and seemed to cut just fine. I also used wax on this while cutting.

I left a bit of a mess from the cuts and didn't want it to look out of place on the bike, also needed to remove any hanging bits. I started off with some 80 grit, worked up to 220 then used a scotch brite belt to finish it off. I didn't worry as much about the inside, mostly just needed to make sure no hanging bits of metal would come off and make sure that the inside of the bolted areas wouldn't contact the spinning clutch.


Looks pretty close, this thing would get pretty hot while sanding so I had to take a lot of breaks.


And now we're ready to roll. Outside looks good, inside looks good. Seems to fit properly.


Here it is giving me that extra space I need and then some. The blue crap is RTV, the red crap is some grease on the paper gasket (that I cleaned the paint off of). I figured that if I pulled it apart I would leave the spacer and the cover connected via RTV, and the grease should keep the paper gasket from adhering to the faces for a while.


As for the test ride? Woohoo! I don't think I realized how much and how often it was slipping until it was fixed. Every time I'd drop into a new gear it would slip a little as I released the clutch, now it's nice and solid. The handle is a little tougher to pull, but I guess more friction has to come from somewhere.

So, if you've got an '86 with a clutch driving you crazy this might be a fun project to undertake. If you had the shim fabricated before hand it would be a pretty quick job, wouldn't even require removing the side of the case, just the clutch cover. Happy Riding!

Thursday, April 22, 2010

Craigslist Image Preview

So if you're a craigslist addict, this might make things worse (if you're a firefox user).

After using CraigsToolbox before they were commercial I got hooked on having images show up under the ads. I found some decent image preview plugins for Greasemonkey for firefox, but they just didn't have the smooth flow I was looking for...so I did what anyone would do, fork the source and modify what was there to fit what I wanted:

Craigslist Image Preview 2.1

You'll have to install GreaseMonkey in order to use it, but with Greasemonkey there are other nice scripts (Flag Spam Easier).

Craigslist Alone:


Here's a screenshot (what blog post is complete without some sort of image?):


Mouseover Thumbnail: