Here's my walker Jack. My dad got it as a gift in the mid 90's and brought it to me when I had a place of my own around 2001 or so. She quit working a few years later, but rounding up someone to rebuild it or a kit just never became a priority. Finally got around to it after my brother in law had it at his place for a few years.
I took most of these pictures in order to help me re-assemble it, but didn't end up really needing them. If you need a picture of a part that isn't in here and you need to know how it fits together let me know :-).


Yeah! Finally got the halves split apart. This felt really great to get it to this point, and if I was just going to fix it I could have stopped here. But I wanted to clean and grease everything, so took it the rest of the way apart. Maybe in another 30 years it will be time for new paint, but I like the patina it has earned.


This tapered rod fits into the parts that hold the back wheels on.


.
And here's the pile of parts on the floor.

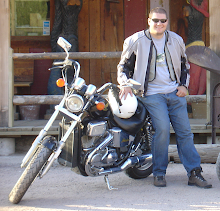
Time to rebuild the main piston, but how to get it apart?

The release control was easy enough to get out.

As were the primary and fast pistons.


I just tapped these out with a hammer and punch, but made some spanners to get them back in.


Time to take the main oil tank off. I picked up this wrench at a pawn shop but had to do a little grinding to get it up to the 2 1/16" size. Unfortunately I couldn't get enough torque on it without the whole bottle twisting and my bench moving around.

So I picked up a 2 1/8" 12 point impact socket, then welded rods in the pockets to get it to contact the middle of the flat sides of the 2 1/16" nut. I had to do a little grinding with a dremel to get it to all fit together. Also had to make it a bit deeper to fit over the main ram.


A few minutes with the impact wrench and she broke free! Woo!


Here's the culprit. The main ram seal was hardened and broke at some point. As I was disassembling this unit it kept breaking further.

These screws were pretty tough to get out. I used an impact driver with a wide flat on it. I left in the one on the far left as it is the safety valve. The kit came with the parts to rebuild it as well (including a new cover), but I didn't want to mess with it.


The kit came with all new balls and a one new spring, but these looked fine so I just reused them.


Looking down into the main ram piston. Looks pretty clean.

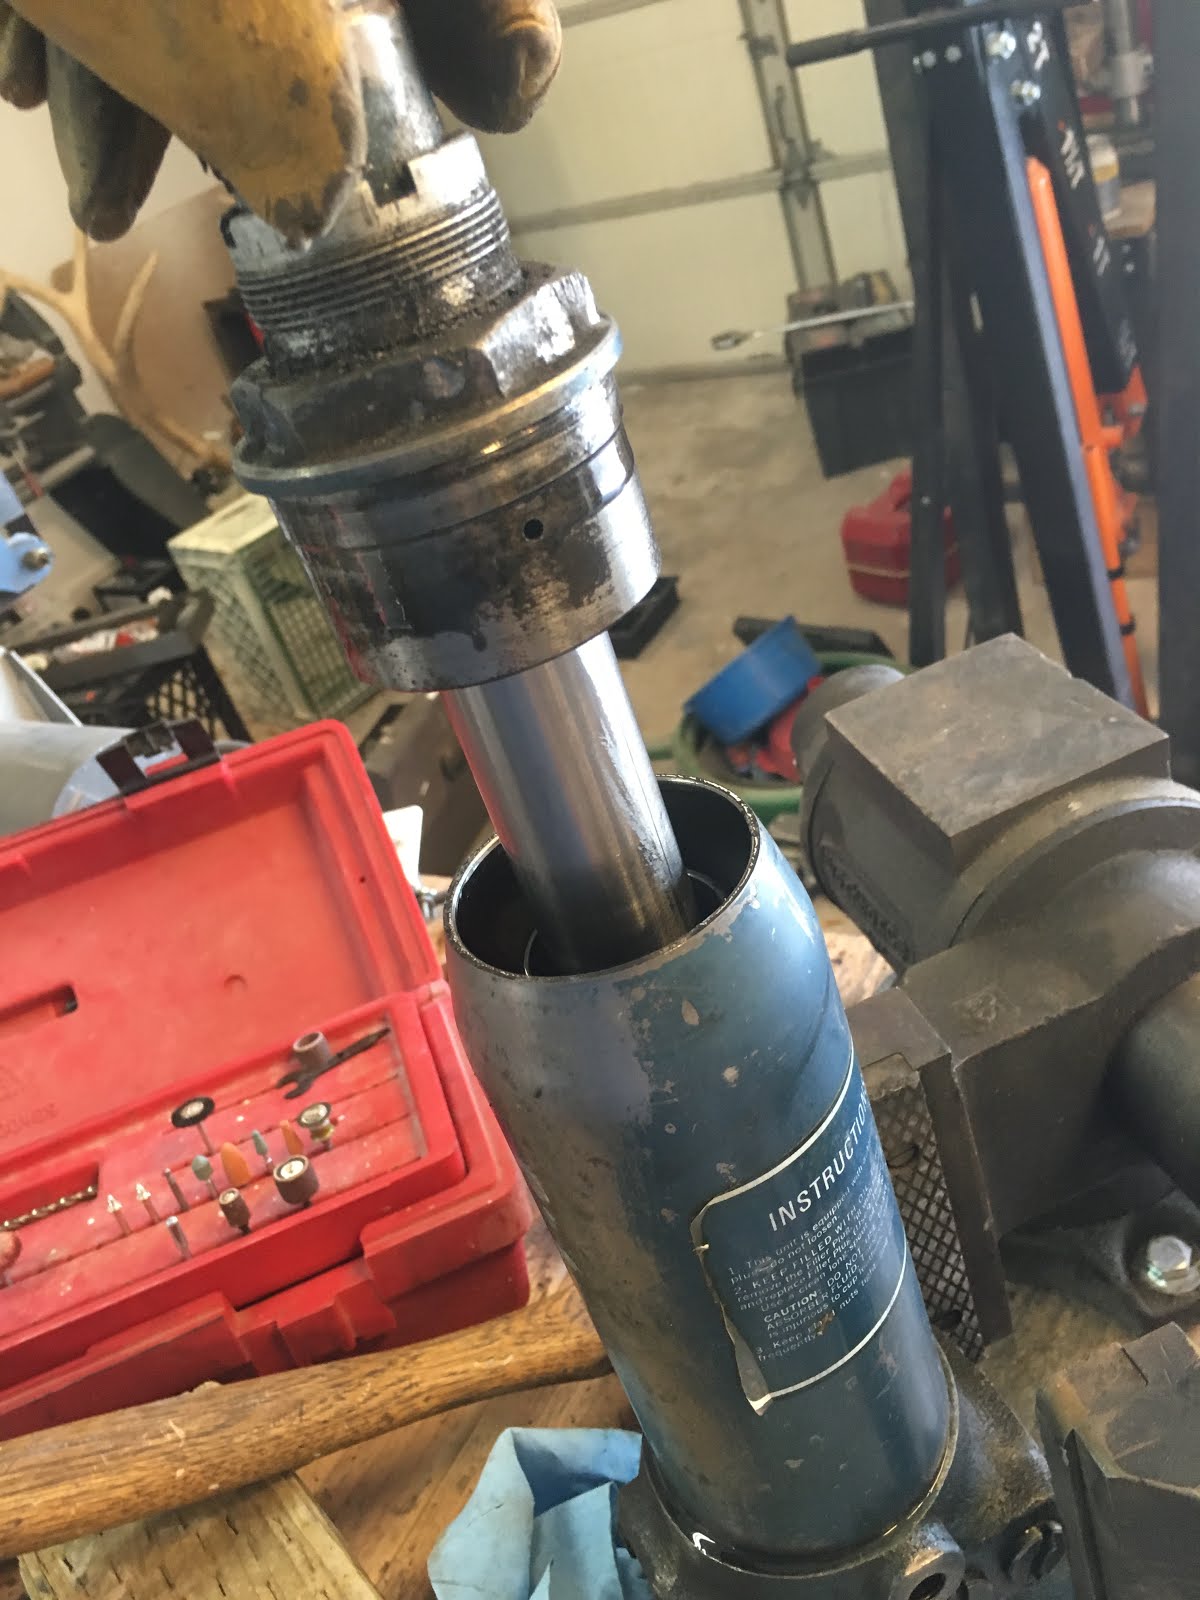
Main ram seals and castle nut. Used a spanner on this and the larger piston on the bottom.


Tada. Mostly back together (at least the oil reservoir). Hammered it for a while to make sure it is on enough. It holds fluid via a steel to steel seal, no o-rings or gaskets for this part.


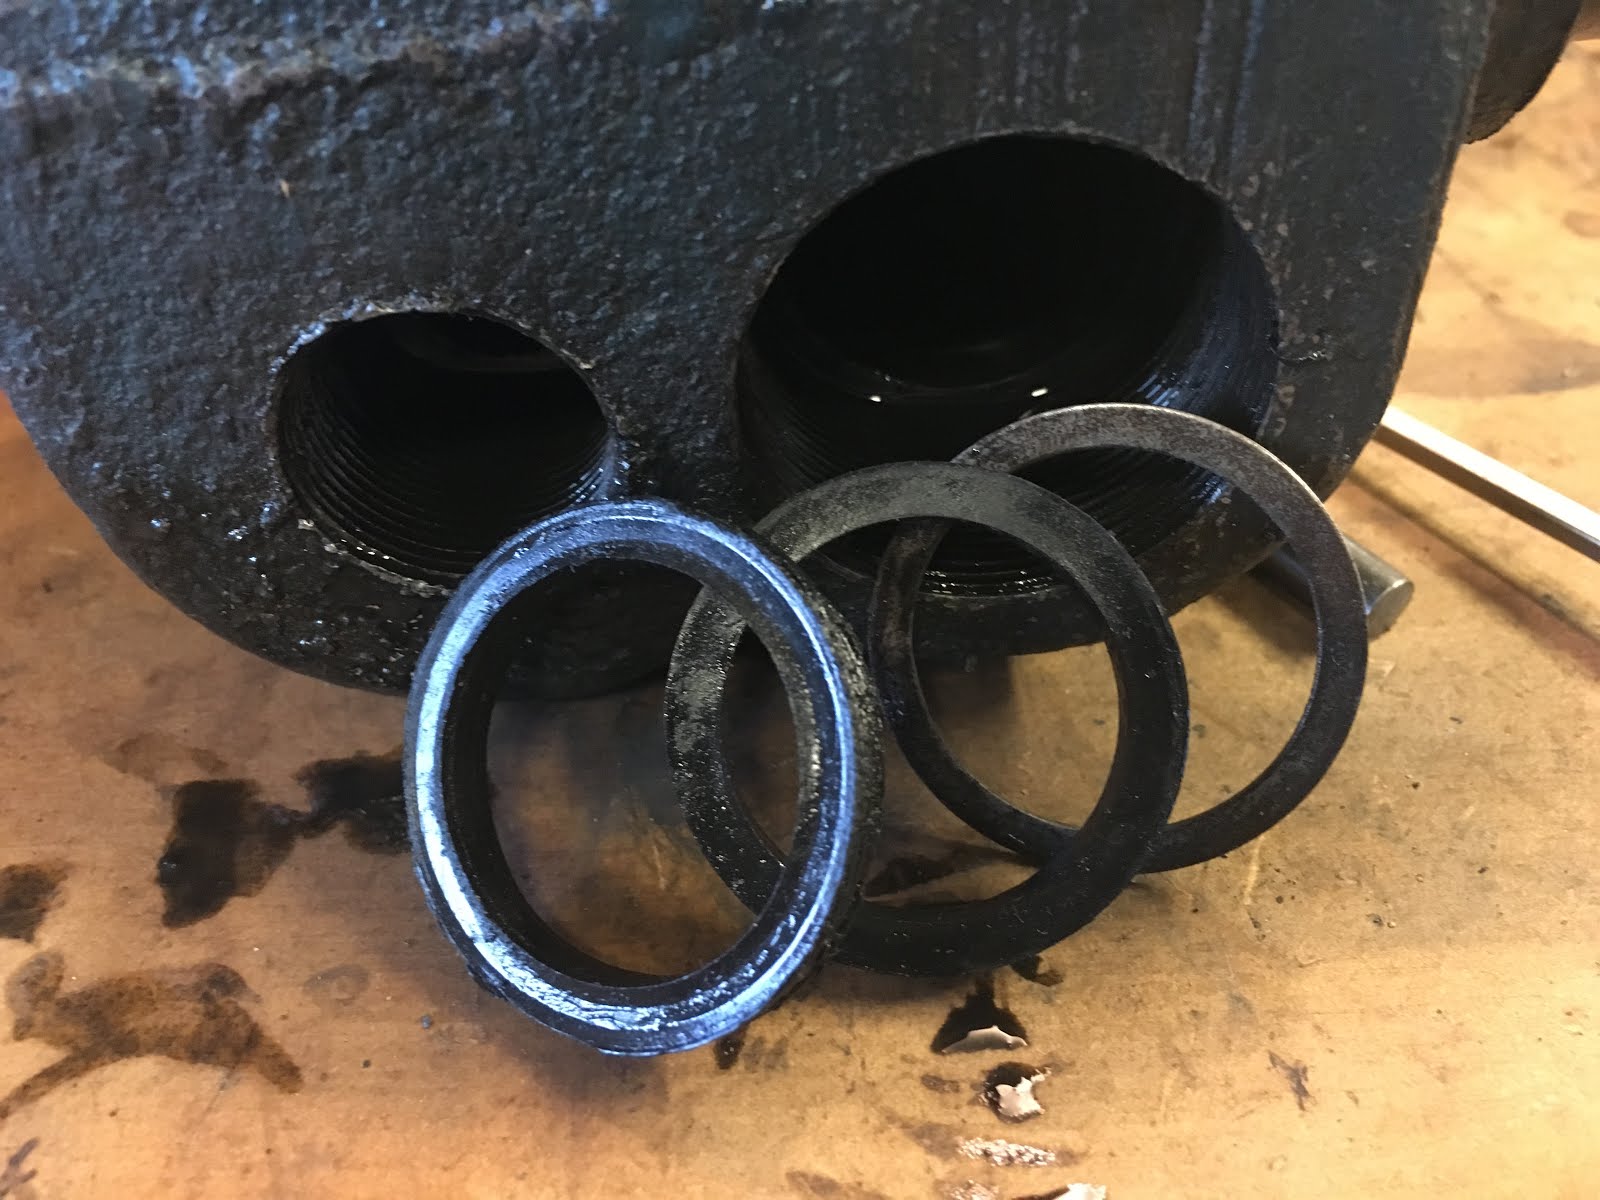
These little leather washers were neat, each contoured to fit together, and the primary (small) piston was machined to accept them. My new ones got shaved a little pressing them in that I discovered when I pulled it back out, but I think it will still look fine. When you tighten it probably don't have them stair stepping quite as much as in my picture.


Let off valve going back together with a new o-ring.


And here's the whole thing back together, after being wiped down. I didn't really take a lot of pictures of this process as it was just the reverse of dis assembly, but greasing everything along the way.